Autonumbering is quite a useful feature. Basically, it means that as long as you keep adding new elements, each new element is getting an ordered number. Right now, you are probably all like - 'Aye aye, Captain Obvious! This feature has been around since, like, forever! Why bother writing an article about it?'
Well, yes. You are right, numbered lists are a living HTML classic. But there's more to it.
This post will give you some idea how autonumbering can be used in a wider range of tasks. The trick is in the CSS counters we are going to use here. The corresponding properties let you control autonumbering directly from CSS, and, thus, give you more freedom and open new possibilities for list usage.
Further, we will provide you with code examples for each autonumbering solution, as well as with a couple of awesome style ideas.
Pictures Autonumbering In Online Documentation
When you are planning on adding lots of images to a help topic (or just any web page for that matter) things can get complicated. Pure frustration is accidentally skipping one picture when adding a capture with a number or just mixing up numbers. Such mistakes are easy to miss, and they cause a lot of trouble when it comes to fixing them. There's a solution - set capture autonumbering up with CSS:
The code is quite simple, the solution is based on the counters:
- Create a new CSS class - PictureSubtitle
- Define it in the following way:
div.PictureSubtitle
{
  list-style-type: none;
  counter-increment: item;
}

div.PictureSubtitle:after
{
  content: " Picture " counter(item) " ";
  counter-reset: none;
  font-weight: bold;
}
-
Place divs with the PictureSubtitle class assigned under your images in HTML, so the code looks something like this:
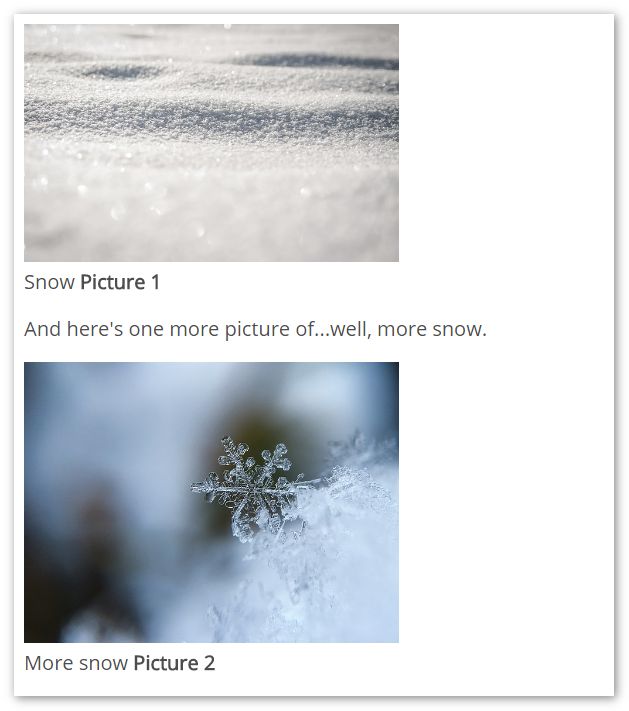
<img src="/img/winter.jpg" />
<div class="PictureSubtitle">
Snow
</div>
<p>
  And here's one more picture of...well, more snow.
</p>
<img src="/img/winter1.jpg"/>
<div class="PictureSubtitle">
More snow
</div>
That's it. Each div element with this class assigned will be numbered automatically!
Autonumbering Nested Lists
Nested lists are quite common in user guides, software manuals and training documentation. They are perfect to describe and systemize massive chunks of data. Nested lists can have as many levels as you wish as long as it makes sense. They can be created following different numbering patterns, and, also, nested lists can combine both ordered and unordered lists.
Take a look at this example:
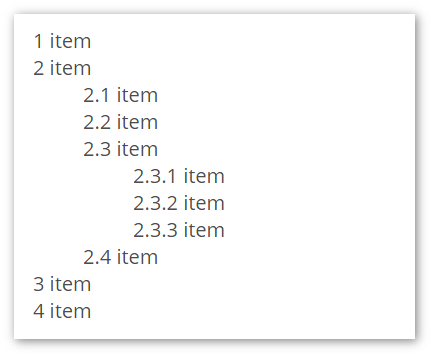
On the screenshot above, we have three levels of elements. Here's the HTML code we used:
<ol>
  <li>item</li>
  <li>item
    <ol>
      <li>item</li>
      <li>item</li>
      <li>item
        <ol>
          <li>item</li>
          <li>item</li>
          <li>item</li>
        </ol>
      </li>
      <li>item</li>
    </ol>
  </li>
  <li>item</li>
  <li>item</li>
</ol>
And, again, we have CSS counters to rule them all:
ol {
 counter-reset: section;
 list-style-type: none;
}
li::before {
  counter-increment: section;
  content: counters(section,".") " ";
}
What we did there is we switched off the default list style and reset the count for each section of the <ol> tag. And, then, we just set the desired counters format for the <li> tag. Each time you open the <ol> tag, the count starts anew.
That's it, one more use case is at your service!
Headings Autonumbering
Numbering headings is always a great idea. Navigation is essential, so we're gonna have to rock it.
Headings are represented by the <h1>, <h2>, <h3>, etc. tags in HTML. <h1> is usually the title, so it won’t need any numbering. Cuz it’s the one and only:
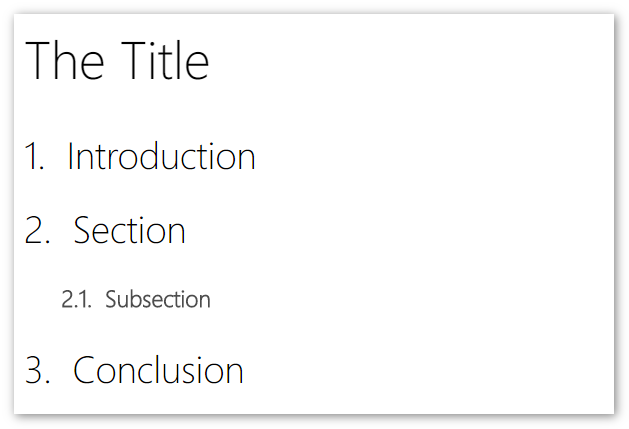
So, this is how some basic heading structure looks. We have a couple of <h2> tags and a nested <h3> tag. The HTML is super easy:
<h1>The Title</h1>
<h2>Introduction</h2>
<h2>Section</h2>
<h3>Subsection</h3>
<h2>Conclusion</h2>
Now, take a look at the CSS code. It might look scary, but we'll restore your courage by explaining it further.
body {
counter-reset: h2;
}

h1 {
counter-reset: h2;
}

h2:before {
  content: counter(h2) ".\0000a0\0000a0";
  counter-increment: h2;
}

h2 {
counter-reset: h3;
}

h3:before {
  content: counter(h2) "." counter(h3) ".\0000a0\0000a0";
  counter-increment: h3;
}
And here is the explanation, as promised:
-
We set the counter-reset property for each parent element to start counting from <h1> because <h1> is our title, and it needs no counter. If we wanted to have it counted too, we’d start by resetting it in the body section instead of <h2>.
-
We reset the counter for <h2> twice - in the body section and in the <h1> tag just to be on the safe side.
-
This creepy guy - \0000a0 is just a non-breaking space in CSS. This way we make sure that we have our numbers separated from text with spaces. In the previous examples, we used this kind of thing - “ “. It’s also Okay. Just wanted to give you some idea what else works :)
Switching Autonumbering Off For Some Headings
To number headings, we didn't create any class. This means that all the headings we described in CSS will be numbered by default. In the example below, you can see that we have the ability to switch autonumbering off for some elements:
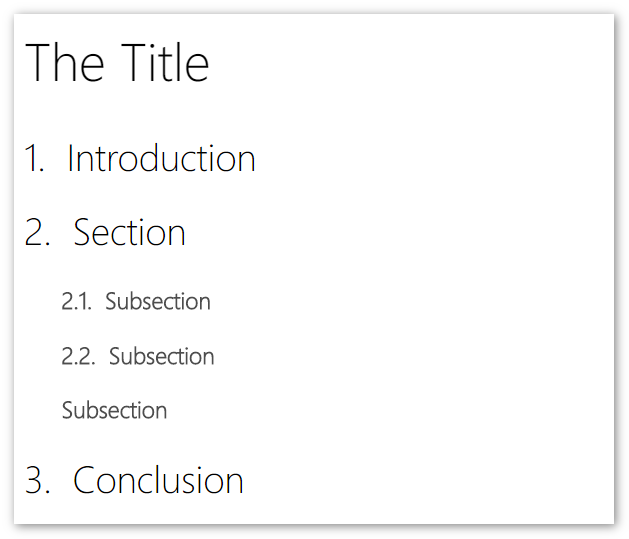
The HTML code for our example is:
<h1>The Title</h1>
<h2>Introduction</h2>
<h2>Section</h2>
<h3>Subsection</h3>
<h3>Subsection</h3>
<h3 class="nocount">Subsection</h3>
<h2>Conclusion</h2>
So, basically, we have this <h3> subsection that we do not want numbered. As a rule, this can be some introduction or conclusion.
Now, let's walk the talk. If you need to switch off numbering for some specific headings:
And voila! Customizing is awesome ;)
Styling Ordered List Numbers With CSS
Now, when you know how to set up different kinds of autonumbering elements, it's time for you to learn some more CSS styling. Below, you'll find several style examples that you can use and modify to match your documentation design and color palette.
Style List Numbers With Circles
This list design is quite basic, but it really makes your lists stand out against other text.
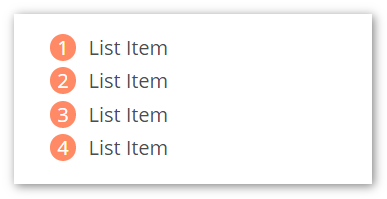
To use this style, do the following:
-
Create a new class called "circle" and apply it to the <ol> tag in your HTML code:
<ol class="circle">
<li>item</li>
<li>item</li>
<li>item</li>
<li>item</li>
</ol>
-
Copy the following CSS code:
ol.circle {
   list-style: none;
   counter-reset: item;
 }

 ol.circle > li{
   counter-increment: item;
   margin-bottom: 5px;
 }

ol.circle > li:before {
   margin-right: 10px;
   content: counter(item);
   background: #FF8A65;
   border-radius: 100%;
   color: white;
   width: 1.3em;
   text-align: center;
   display: inline-block;
 }
-
If you wish to change color of the circles, change the value of the 'background' property.
-
To change the numbers' color, change the 'color' property to whatever shade suits your needs.
Try playing around with other properties to get things to look right for your particular case.
Style List Numbers With Borders
This design is a bit more complex. But If you follow the steps below, it will be just as easy to implement as the previous one.
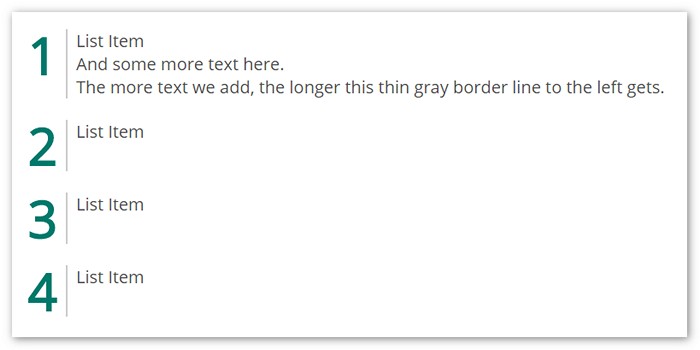
To use this style for your numbered list, follow these steps:
- Create a new class called 'border' and apply it to the <ol> tag in your HTML code:
<ol class="border">
  <li>List Item<br/>And some more text here.<br/>The more text we add, the longer this thin gray border line to the left gets.</li>
  <li>List Item<br/></li>
  <li>List Item</li>
  <li>List Item</li>
</ol>
- Use the following CSS code:
ol.border {
    list-style-type: none;
    list-style-type: decimal !ie;
    margin: 0;
    margin-left: 3em;
    padding: 0;
    counter-reset: li-counter;
}

ol.border > li{
    position: relative;
    margin-bottom: 20px;
    padding-left: 0.5em;
    min-height: 3em;
    border-left: 2px solid #CCCCCC;
}

ol.border > li:before {
    position: absolute;
    top: 0;
    left: -1em;
    width: 0.8em;
    font-size: 3em;
    line-height: 1;
    font-weight: bold;
    text-align: right;
    color: #00796B;
    content: counter(li-counter);
    counter-increment: li-counter;
}
-
To change the border color, change the value of the "border-left" property.
-
Numbers color is changed in the "color" property.
Conclusion
The counters are tough, but you made it! Feel free to use any code examples you see in this article. Also, you can ask questions in the comments section below, we'll gladly help you figure things out.
You have learned A LOT today, so be proud of yourself and good luck with implementing these advanced autonumbering techniques in your documentation!
This article was written based on our own technical writing experience. If you need to create online documentation, you may also like ClickHelp - the best user documentation tool for web developers.
Good luck with your online documentation!