ClickHelp User Manual
1. Create a Project
In ClickHelp, everything starts with a project. And this is what we will do in this chapter — create one. A project is a container for your draft content; it's where your documentation is stored while you are authoring it until you are ready to deliver it to the readers.
There are two ways to start a project: create a new one from scratch or import existing documentation.
Let's create a new project.
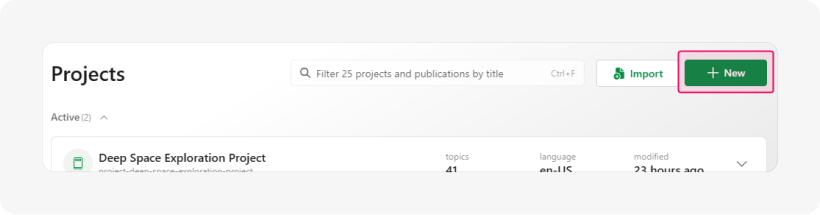
- Open your portal's Projects page.
ClickHelp should open the Projects page after you log in. If that doesn't happen, or if you're not sure where to log in, visit the direct URL{yourportal}.clickhelp.co/portal/dashboard, where {yourportal} is the name of your portal. - Click the New button.
- In the Create Project Wizard window, specify Starship Navigation Guide as the project name.
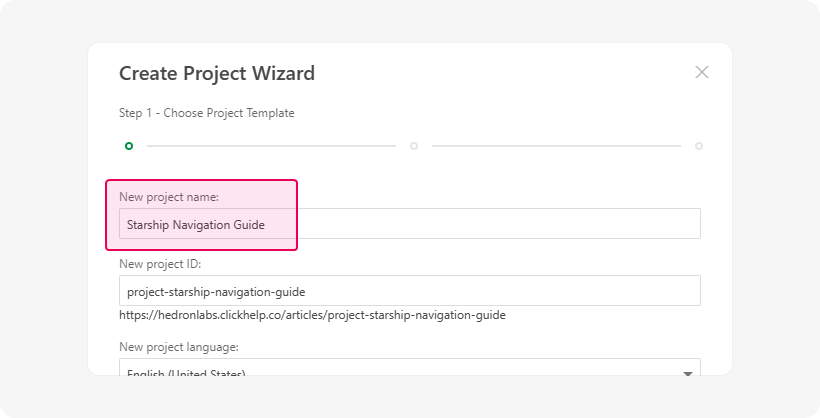
Leave all other settings on this step by default. If you want to learn about the Project Language and the Project Templates, read more in the corresponding topics. - Click Next. Wait for the wizard to finish the creation process.
- When the wizard switches to its final page, click Finish to close it.
You'll see that your newly created project has now appeared on the Projects page.
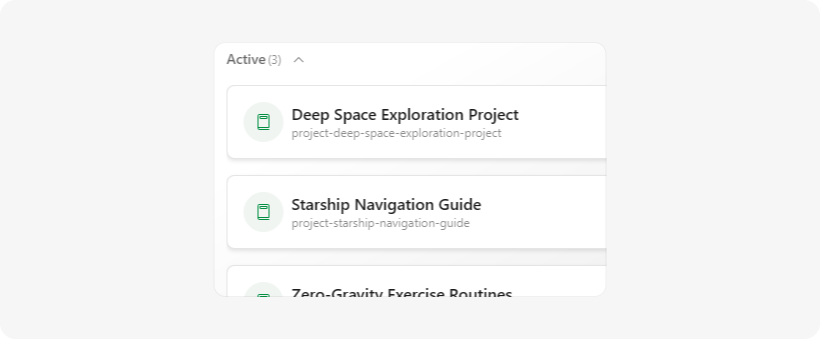
Congratulations! You have just created your first project. Let's now add a few topics to it and fill them with content.